Is a 3-Zone Mini Split Worth It for a 1,400 Sq Ft House?
If you're weighing the option of upgrading your home’s HVAC with a 3 zone mini split for 1400 sq ft, you’re asking a smart question. Multi-zone mini splits bring potential savings and comfort flexibility that traditional systems can’t match. But with so many brands, electrical requirements, and sizing considerations, it’s easy to get overwhelmed.
In this deep dive, we'll unpack what a true DIY installation means, sizing and BTU planning room-by-room, electrical realities, and cold climate heating performance—all tailored for a typical 1,400 square foot home. Along the way, you'll see how companies like Zone Air, MRCOOL, and Pioneer fit into your decision.
What Is a 3-Zone Mini Split, and Why Consider It for 1,400 Sq Ft?
A 3-zone mini split HVAC system consists of one outdoor compressor and three individual indoor units, each capable of independent temperature control. When managing a modest 1,400 sq ft home—say a two- or three-bedroom layout—you’re looking at roughly three conditionable spaces or “zones.” For example, a living room, a master bedroom, and a guest bedroom/office.
Installing a multi zone mini split system means:
- Room-by-room temperature control—You don't waste energy heating or cooling unused rooms.
- Energy bill reduction by 30-40%—saving comes primarily from zone control and the inverter technology most mini splits use.
- Elimination of bulky ductwork—perfect for homes without existing ducts or with limited wall space.
Pricing Snapshot: Zone Air 3-Zone Wall-Mount Kits
For budgeting, a 3-zone mini split kit from Zone Air typically ranges from $4,100 to $5,600. These kits include the outdoor unit, three wall-mounted indoor units, and pre-charged linesets designed to connect quickly.
What does this mean in a real house? For around five grand, you get centralized control over your main living areas, cutting down HVAC energy costs and improving comfort—not a bad deal when you consider potential savings recouped within several years, especially with rising energy prices.
True DIY: What Does It Mean for Multi-Zone Installations?
The term “DIY mini split” gets tossed around, but here’s the real deal: true DIY means the refrigerant linesets are pre-charged and use quick-connect fittings. This eliminates the need to vacuum out air, handle pressurized refrigerant, or flare copper tubing manually—steps that normally require specialized HVAC tools and certification.
Brands like MRCOOL popularized this approach with their pre-charged, plug-and-play linesets. However, be cautious; many “DIY” labeled units still require professional-grade vacuum pumps and gauges, especially for multi-zone setups that have longer and multiple refrigerant lines.
- Pre-charged quick-connect linesets: Enable easier installation by the homeowner or general contractor, but sizing lines carefully is a must.
- Tools needed: A drill with a hole saw or 3-inch core bit for wall penetrations, a level for mounting indoor units accurately, and standard hand tools. No vacuum pump required for true DIY systems.
For a 3-zone mini split, especially over a 1,400 sq ft house, lines may be longer or routing more complex. Ensure your system's specifications allow for extended line lengths to preserve performance and warranty coverage.
Multi-Zone Mini Split Sizing: How to Plan BTUs Room By Room
Sizing your mini split isn’t about matching just the total square footage. It’s about multi zone mini split sizing, which means calculating heating and cooling loads per each zone or room.
Room Approx. Square Footage BTU Range (Cooling) BTU Range (Heating) Living Room 500 sq ft 12,000-18,000 BTU 14,000-20,000 BTU Master Bedroom 350 sq ft 9,000-12,000 BTU 10,000-14,000 BTU Guest Bedroom/Office 250-300 sq ft 6,000-9,000 BTU 7,000-10,000 BTUPro tip: Always size your indoor units slightly smaller than the room’s full load if you want longer runtimes and better dehumidification—this helps avoid short cycling.
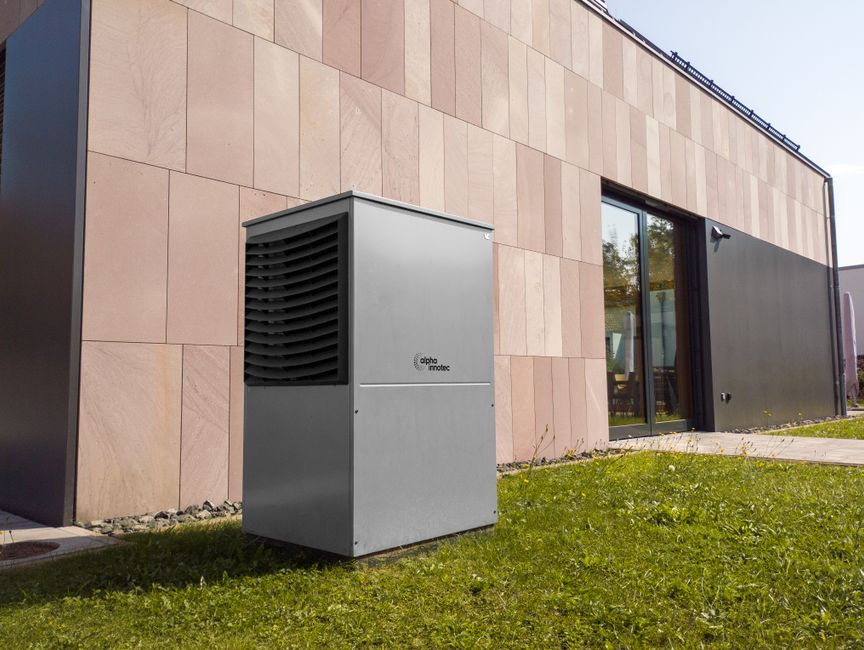
Electrical Reality: 115V vs 230V and Electrician Costs
Electrical hookup is often a manufacturer afterthought when DIYers go in with a spirit of “plug and play.” But here’s the harsh reality:
- 115V systems—These are generally lower capacity, good for single-zone or smaller 2-zone units under 18,000 BTUs. They can often plug into a dedicated 20-amp breaker in your existing panel.
- 230V systems—Most 3-zone mini splits require 230V to power the outdoor compressor’s higher BTU capacity (anywhere from 24,000 BTU and up total). This means a double pole breaker (30-40 amps depending on specs) and possibly panel upgrades.
If you’re comfortable adding new circuits, using a drill with a hole saw or 3 inch core bit to route conduit, and hooking up outdoor wiring, you can DIY this part—but electric permits and inspections are usually mandatory. Most homeowners will want a qualified electrician to run and connect the circuit to avoid dangerous mistakes and protect resale value.
Budget electrician costs starting around $400-$800, possibly more if panel upgrades or trenching for outdoor conduit are involved.
Cold-Climate Performance: Can Mini Splits Handle Your Winter?
If you live where winter dips near or below freezing, cold-climate performance matters. This is where brands like Zone Air and Pioneer differ:
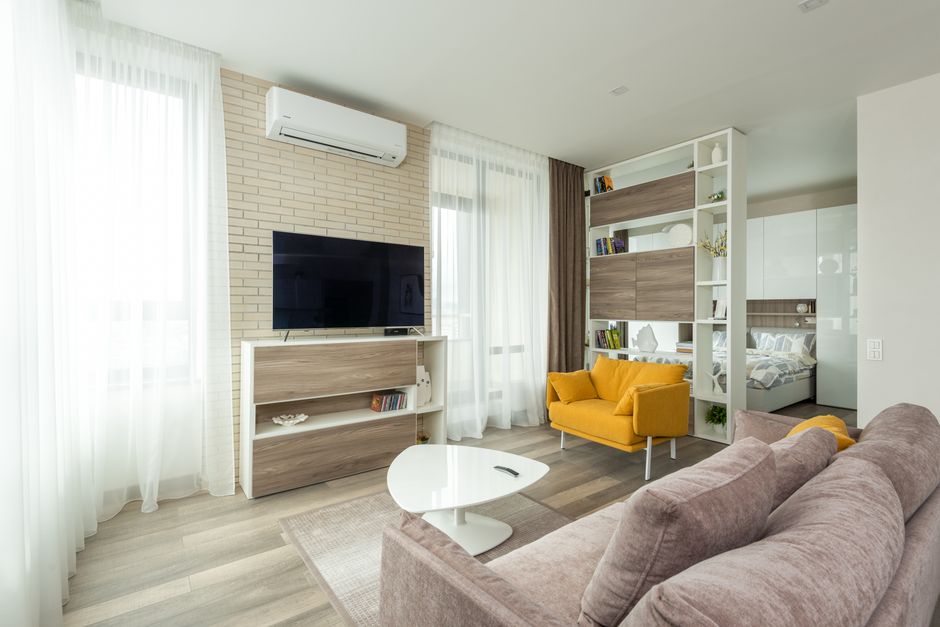
- Zone Air models generally maintain heating performance down to around -13°F, which is excellent for colder regions.
- Pioneer and many MRCOOL units struggle once outdoor temps go much below 5°F, sometimes requiring backup electric heat strips.
Keep this in mind if you live in areas with harsh winters. You want a system that won’t be pumping lukewarm air or skyrocketing your electric bill on auxiliary heat.
Installation Checklist for a 3-Zone Mini Split
- Plan zone-by-zone BTU sizing based on room sizes and window exposure.
- Choose a kit that supports your required total BTU and line length specs.
- Verify whether the kit uses pre-charged quick-connect linesets for true DIY installation.
- Gather tools: drill with 3-inch hole saw or core bit, level, screwdriver set, pliers, maybe conduit conduit set for wiring.
- Confirm your home electrical panel can support a new 230V double pole breaker of 30-40 amps (or 115V single pole if small loads).
- Apply for electrical permits as required by local code.
- Schedule or DIY running of electrical wiring. Use a licensed electrician if unsure.
- Install indoor units, maintaining level for proper condensate drainage.
- Run outdoor unit wiring and middle-wall line sets; use level to align units correctly.
- Test system: power on, check blower operation, and confirm zone-by-zone temperature control.
Final Verdict: Is a 3 Zone Mini Split Worth It for a 1,400 Sq Ft House?
Absolutely—if you’re looking for room-by-room temperature control, want to slice your energy bills by 30-40%, and aren’t intimidated by some intermediate DIY handyman challenges or electrician coordination.
For around $4,100 to $5,600 with reputable brands like Zone Air you get a system engineered for colder temperatures and true DIY-friendly pre-charged linesets. MRCOOL has strong options with user-friendly hook-ups but watch cold-weather specs. Pioneer offers budget-friendly kits, but you might want to confirm warranty fine print on warranty if you live in an extreme climate.
mini split noise dB(A)Carefully plan your BTU sizing by room, be prepared for some drilling, electrical permit paperwork, and potentially an electrician’s help. The comfort gains, plus long-term energy savings, make the upfront investment worthwhile for most homeowners.